Beauty
-
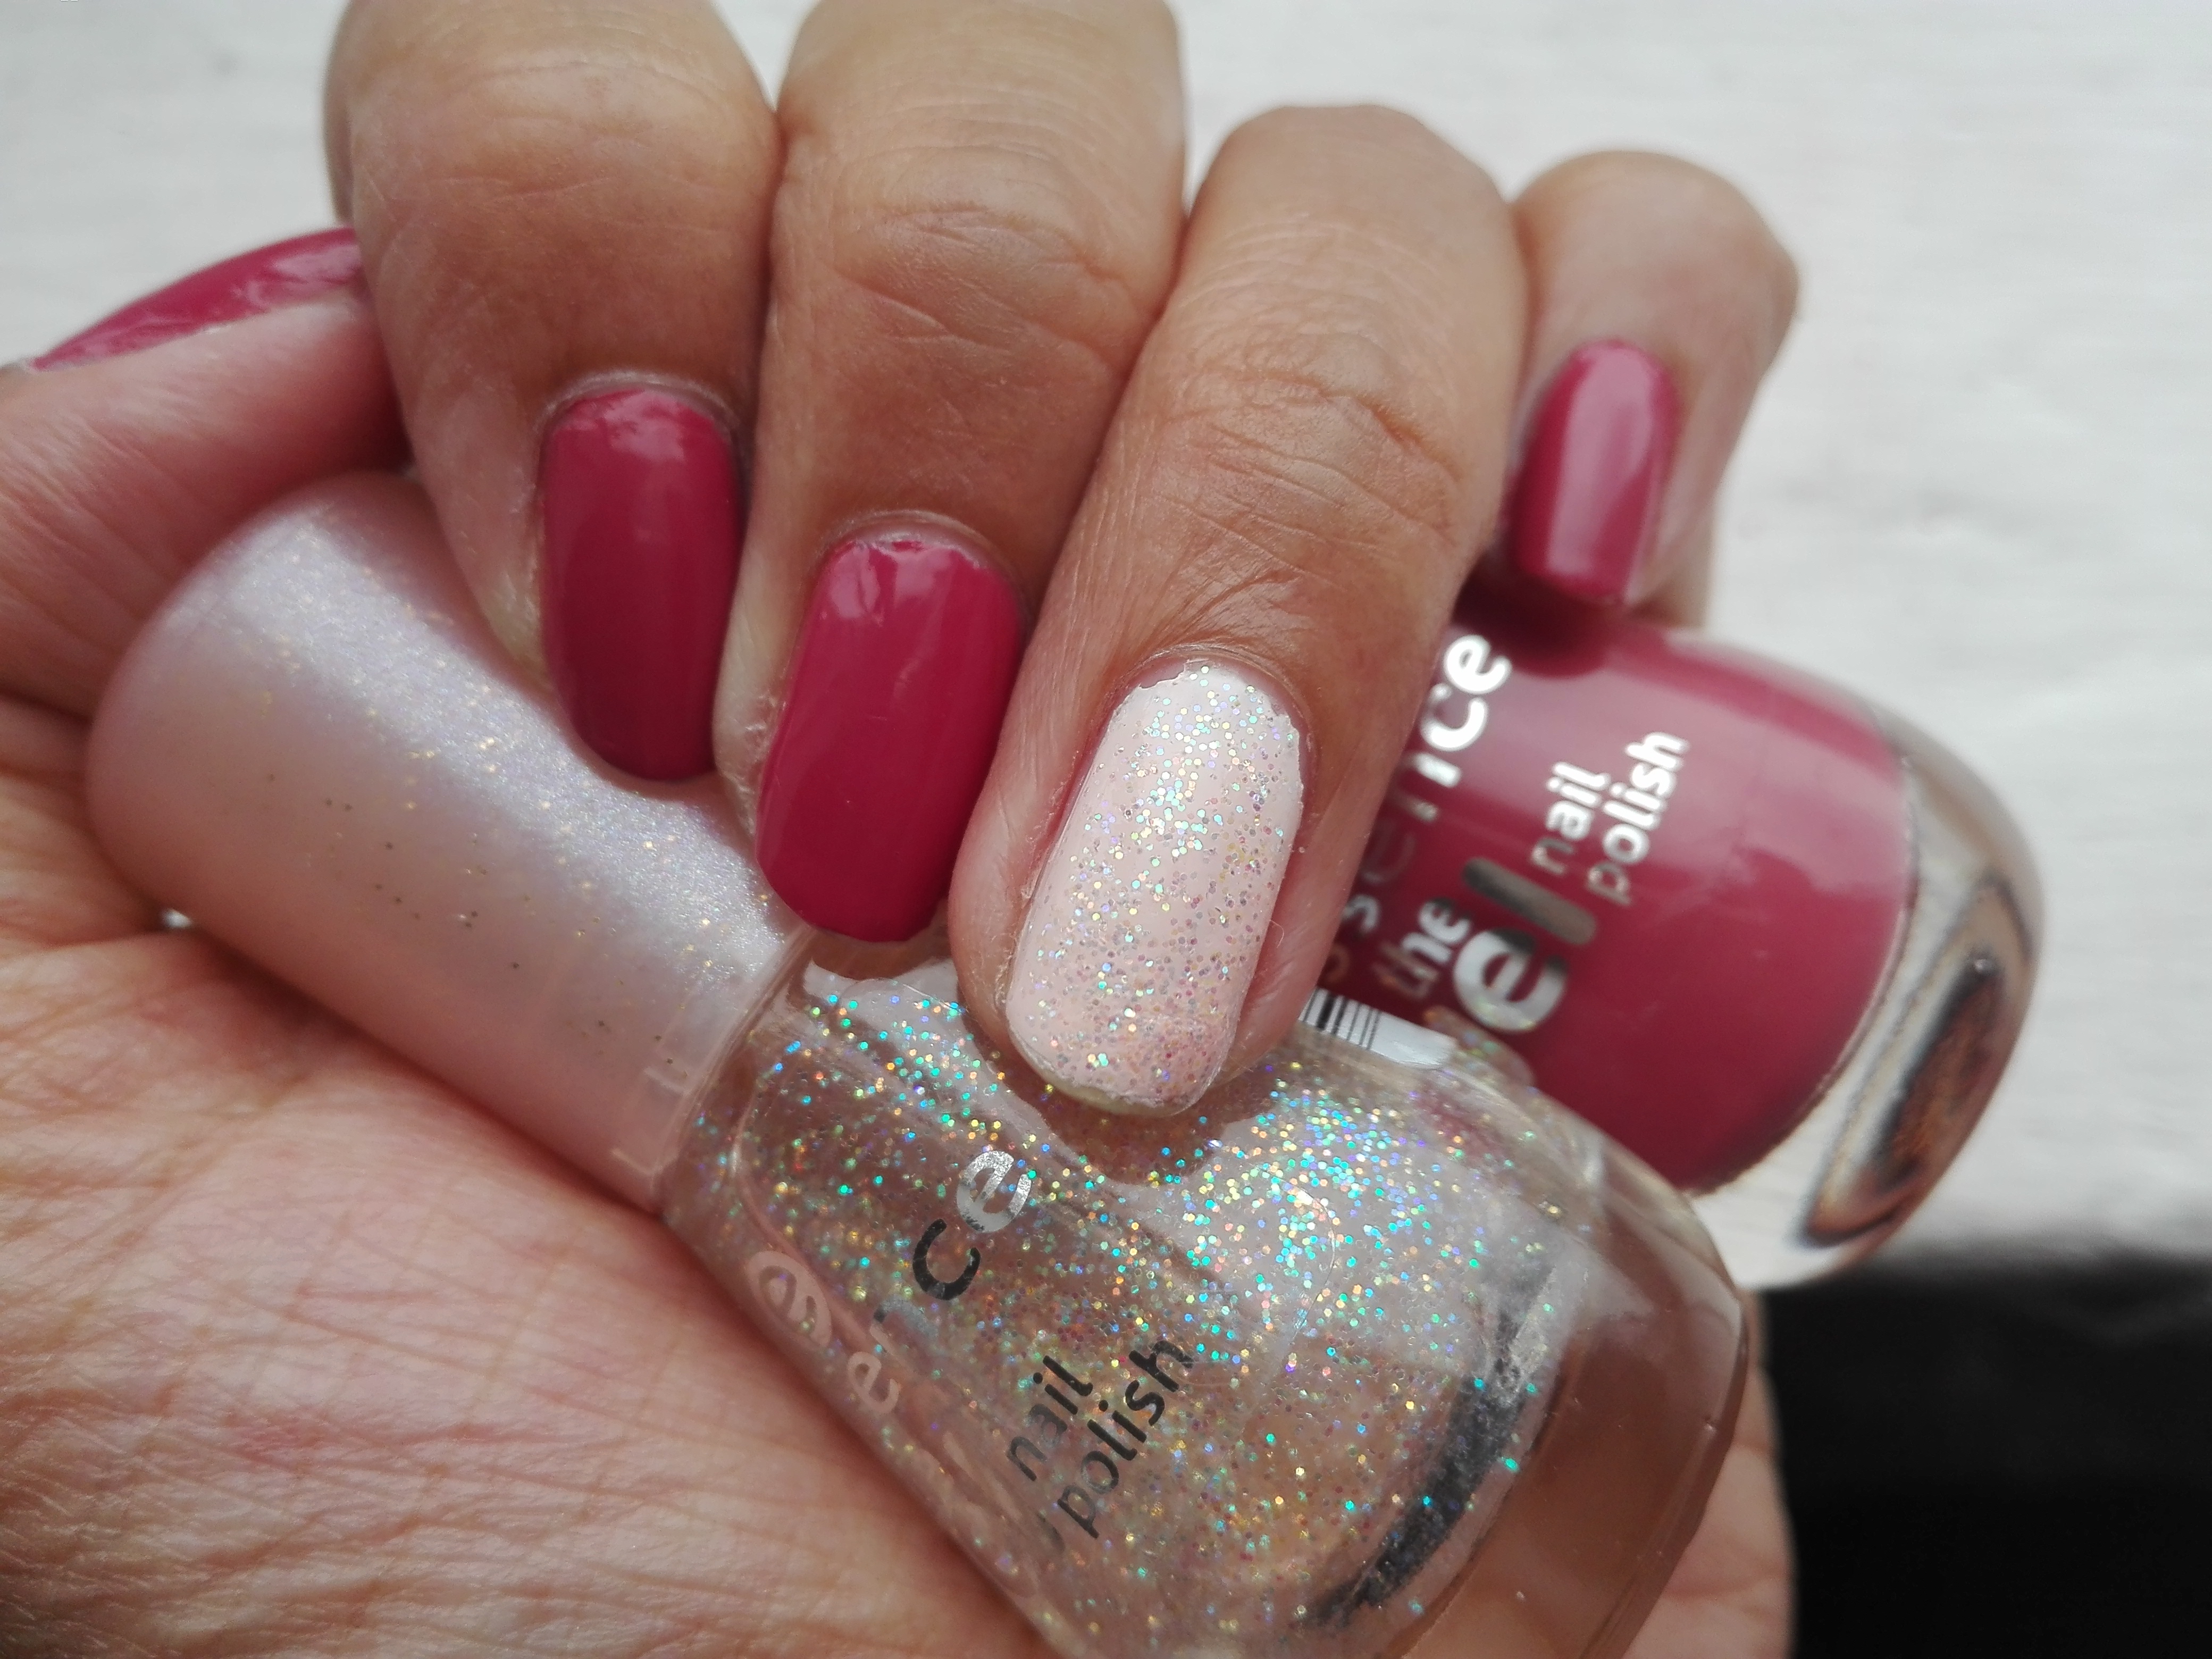
Essence The Gel ‘The Oil Slick’
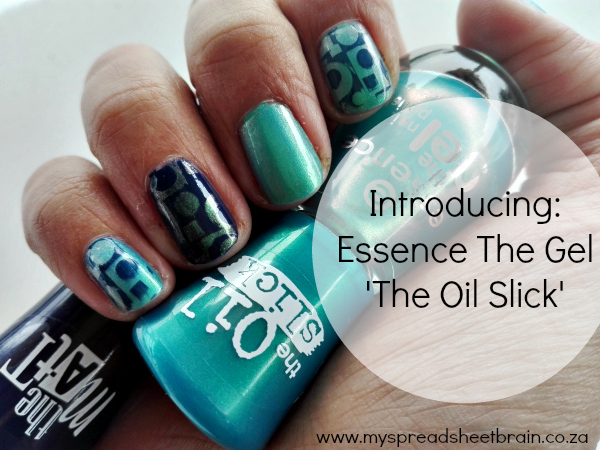
I was super pleased when our friends at Essence sent us a variety of polishes to add to this year’s #ECMeetUp goodie bags. It’s no secret, I am a huge fan of the cosmetics house and love their nail polish range. So I totally aaacked when I found their ‘The Oil Slick’ polish in my goodiebag. I really wanted that one. How’d it get in there? 😉
-
No time for the nail salon? Avon’s for you…
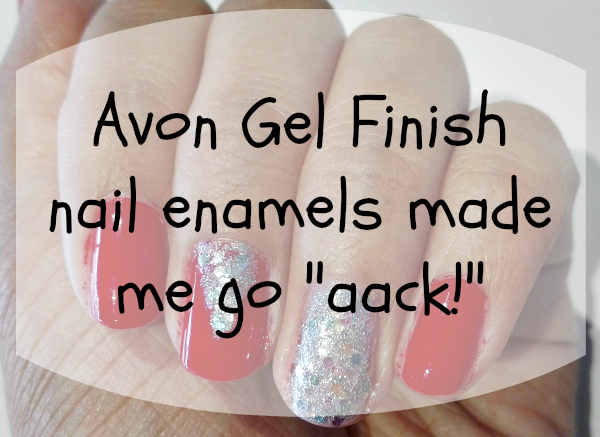 You know how you know your friends love you? When they get you the type of gifts that make you go “AAAAAAAACK!!!” really, really loudly. Well, that’s the sound I made when one of my close friends got me some totally fab Avon nail polishes as a birthday gift!
I was quite keen to try these out because, to be honest, I was like “okay, what do they know about polishes, like, really now.” When I think Avon I think make up and bath stuff. Not nails. The Avon Gel Finish polishes intrigued me even further with their 7-in-1 claims. They said that my 1 bottle of Avon Gel Finish will give me shine, gel-like finish, vivid color, base coat, top coat, protection and will act as a strengthener. My spreadsheet brain had to see for myself!
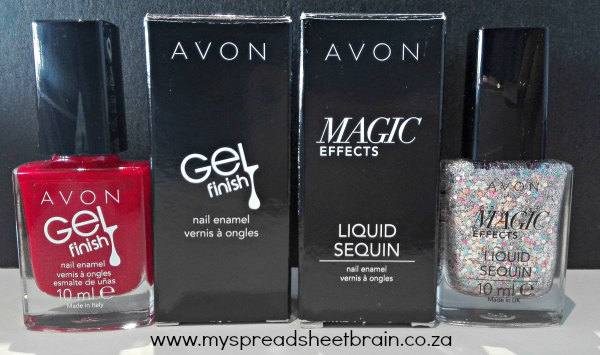
I got my nails ready and applied 1 coat of Avon Gel Finish ‘Roses Are Red’ – a pretty bright red polish. On application, I found the formula to be very opaque and not watery at all. The polish goes on smoothly and evenly and even though the box instructed me to wait for the 1st coat to dry thoroughly, before applying the next, I kinda didn’t because: mom life. It still turned out pretty good though, in my opinion!
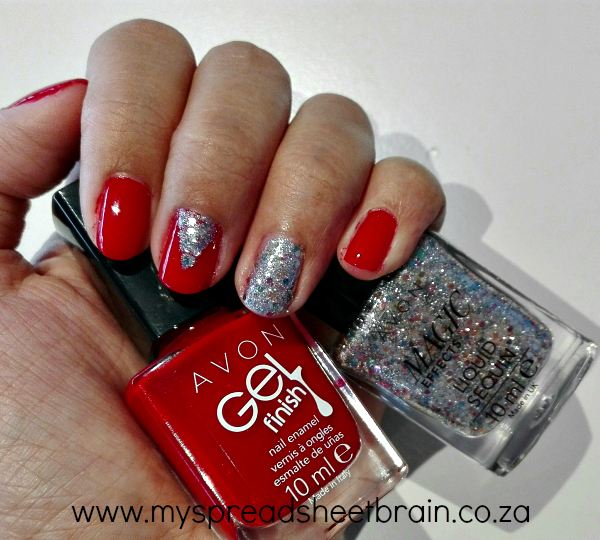
The glittery accent nail is thanks to Avon’s Magic Effects polish. Yep, they are going allllll out with their nail enamel range! I likey alot! What I appreciated about this Liquid Sequin polish (aptly named ‘Sequin’) is that unlike other sequin/glitter polishes, I did not have to apply copious amounts of the stuff to get full nail coverage.
As you can see, I had a bit of “me time” (think: 10 minutes) so I could do some sort of random nail art there on the middle finger. It’s meant to be a glitter triangle. But hey, it’s art, interpret it as you will.
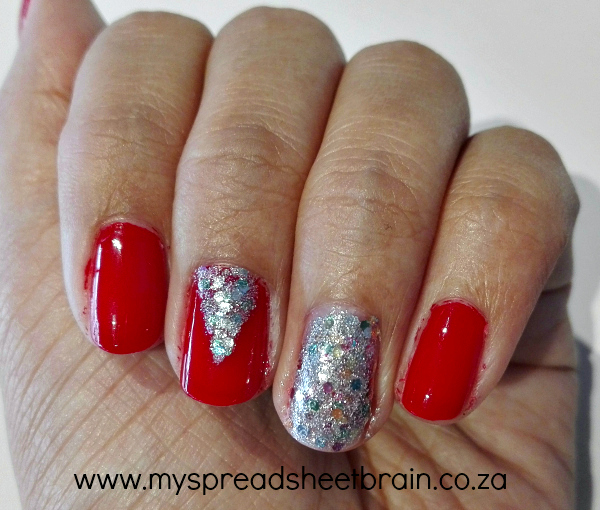
I am super impressed with the longevity of the Avon Gel Finish polish – it gave me a good couple of days without chipping. I am also impressed with the fact that I don’t have to apply top and base coat. This mani made me feel like I had just been to the salon. The polish’s dramatic color and shine is amazing and the gel look effect is excellent!
I’m excited to try out their other colors! What do you think?
-
Nail Art: DIY scribbled nails
 This past week was a crazy one. Hubstopher was sick, and you know how it goes when the man of the house does not feel well. We walked around on tippy toes and only spoke in whispers too each other… I mean, we couldn’t allow our foot steps and voices to influence the intensity of his man-flu! Anyways, things are back to normal (the Lord only gives you what you can handle and all that) and I could finally remove the polish from my nails on Sunday night after staring at the horrible chipped mess that it was, for far too long. I hate when my nails look unkept. Anyways, I spotted really cool nail art on Juanita and Michelles blogs last week and thought I have to try it out! They’ve dubbed it “scribbled nails” and it pretty much means that the design gives the impression of doodling.
 -
Love on my nails!
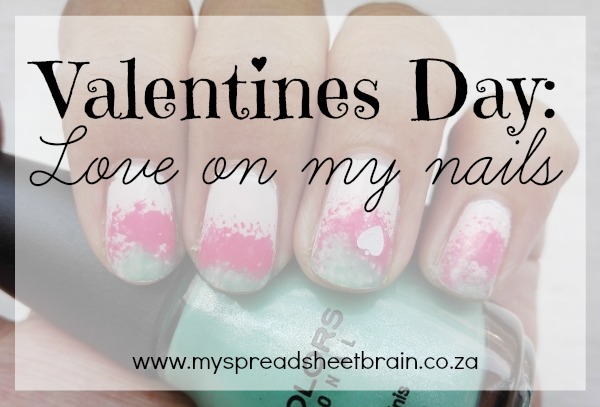 What do you get when you pair up a sleeping toddler, an early evening and new episodes of The Voice? Well where I’m from it spells: Time to put some love on my nails!
Since my Curly was sleeping and I had 2 whole episodes of singing to savor, I thought hey, why not maximise your time and do something with lots of colors. (Yes, I realize that my “lots of colors”, in this situation, is just 3 colors. Don’t judge my spreadsheet brain, okay?) Anyways, so I pulled out some of my favorite Sinful Colors polishes. See exhibit A:
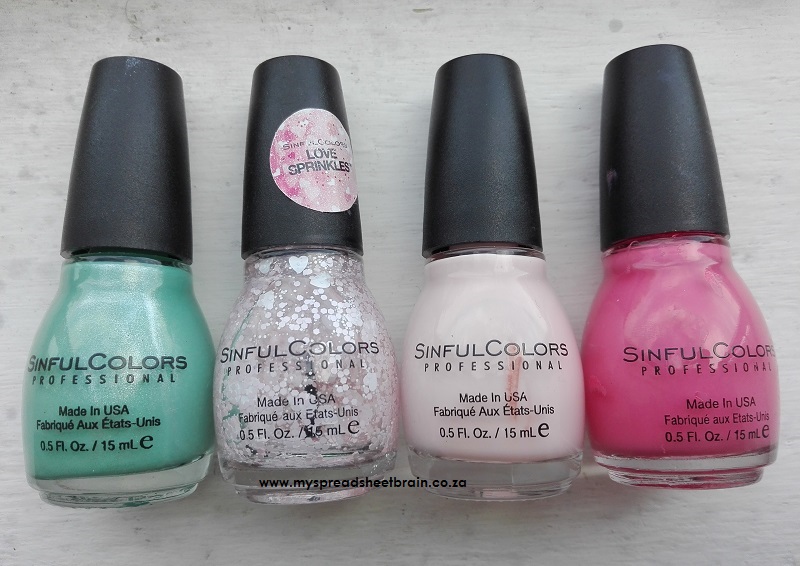
Sinful Colors: Mint Apple, Love Sprinkles, Easy Going and Island Coral I started off with my gel look base coat because I wanted it to stay on for as long as possible. I then painted 2 coats of Easy Going on all my nails and waited for it to dry.I decided to do a gradient using Mint Apple and Island Coral and used a sponge to get the desired effect.
To do a gradient, simply apply strips of color to a sponge – yes even a kitchen sponge – and dab onto your nail. Try not to wait too long before dabbing – you want the strips of paint to still be fresh. I got this result after a few dabs:
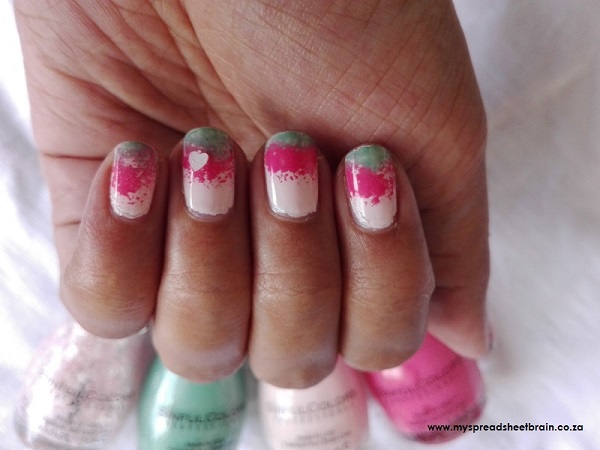
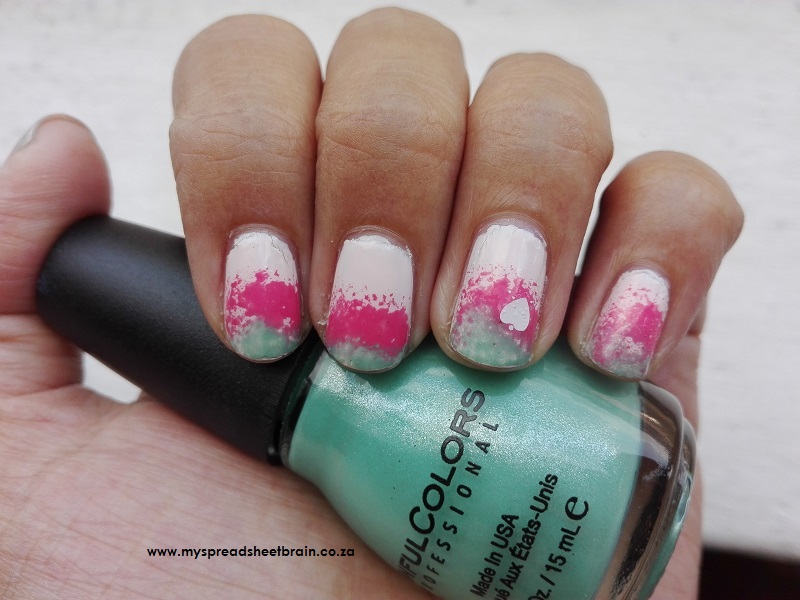
Once the gradient was dry, I carefully added a heart decal which I found in my Love Sprinkles polish. A bit of a cheat, if you will.
Applied gel look top coat and ta daaaa! An evening well spent, I’d say.
-
Glitter accent nails – Easy Peasy with Essence!
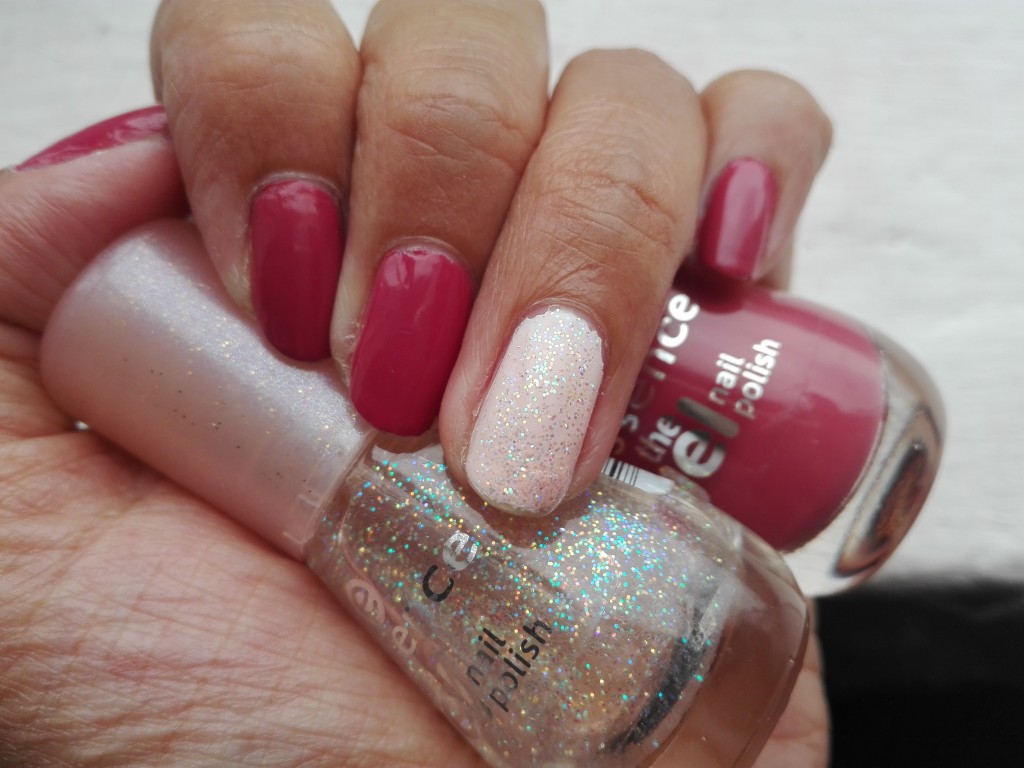
Ever feel like: “I should probably do my nails today because they are starting to resemble that of someone who lives on a mountain, oh wait I don’t have the time, who am I kidding”? Well sister, you’ve come to the right place! I felt that way just the other day and decided to pull out my good ol faithful Essence The Gel polishes to give my nails a new zest for life. Glitter accent nails were a must!
-
Nail art stencils – An easy way to look as if you’re very clever {NailLinkUp}
How random is my post title? Well that’s how I feel this morning. Random. But anyways, I’m here to talk about nails. Actually, nail art stencils, to be more specific.
-
NAILLINKUPSA – New Years Eve
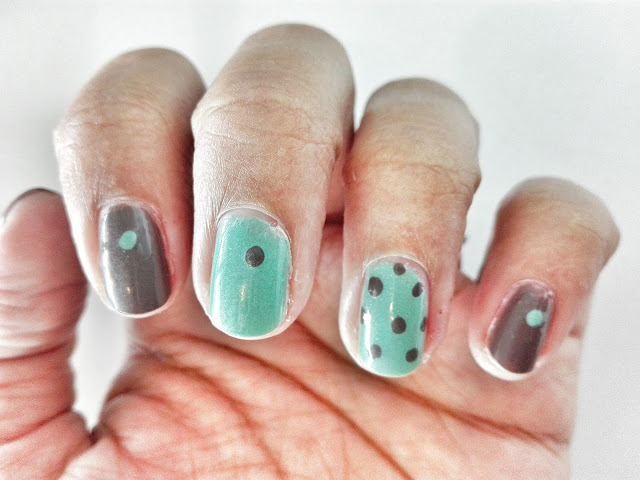
Today’s nails are the final prompt of the Nail Link Up SA challenge. This weeks theme is aptly named New Years Eve and I was going to go with glitterati galore but I thought “nah”. Literally. That’s all I thought. No clever explanation.
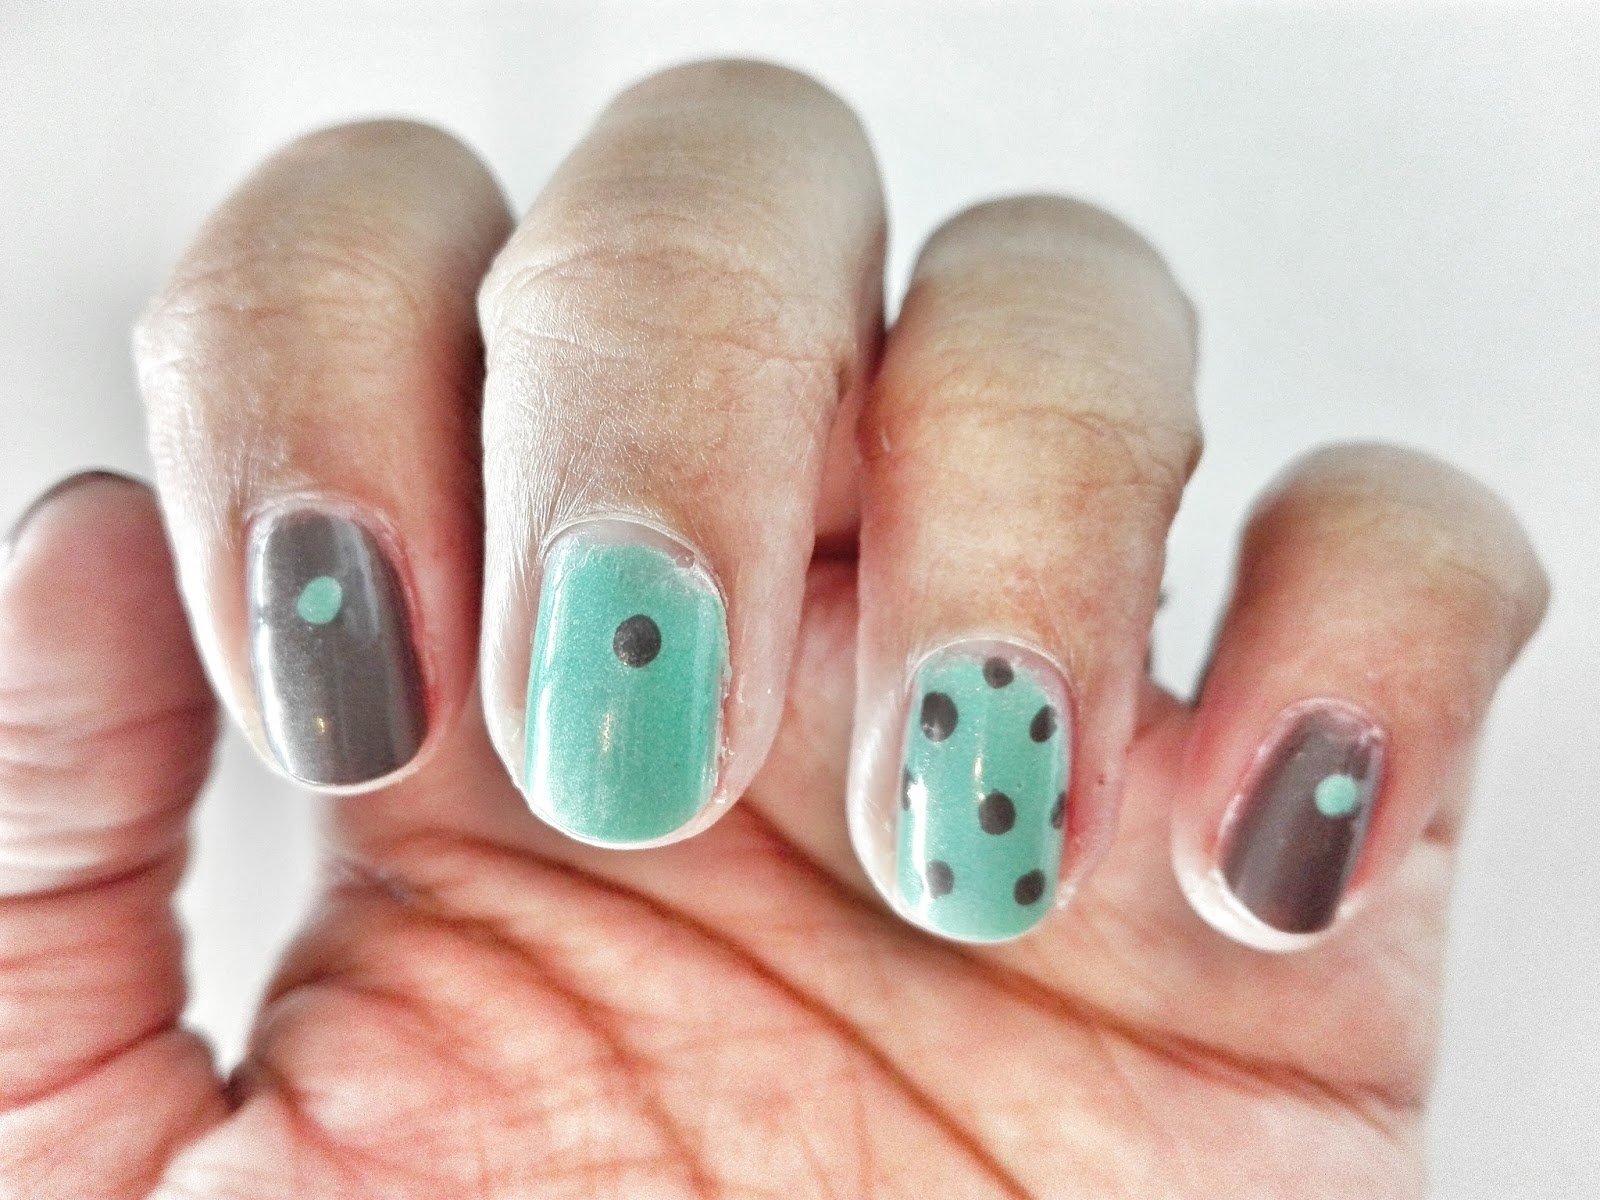
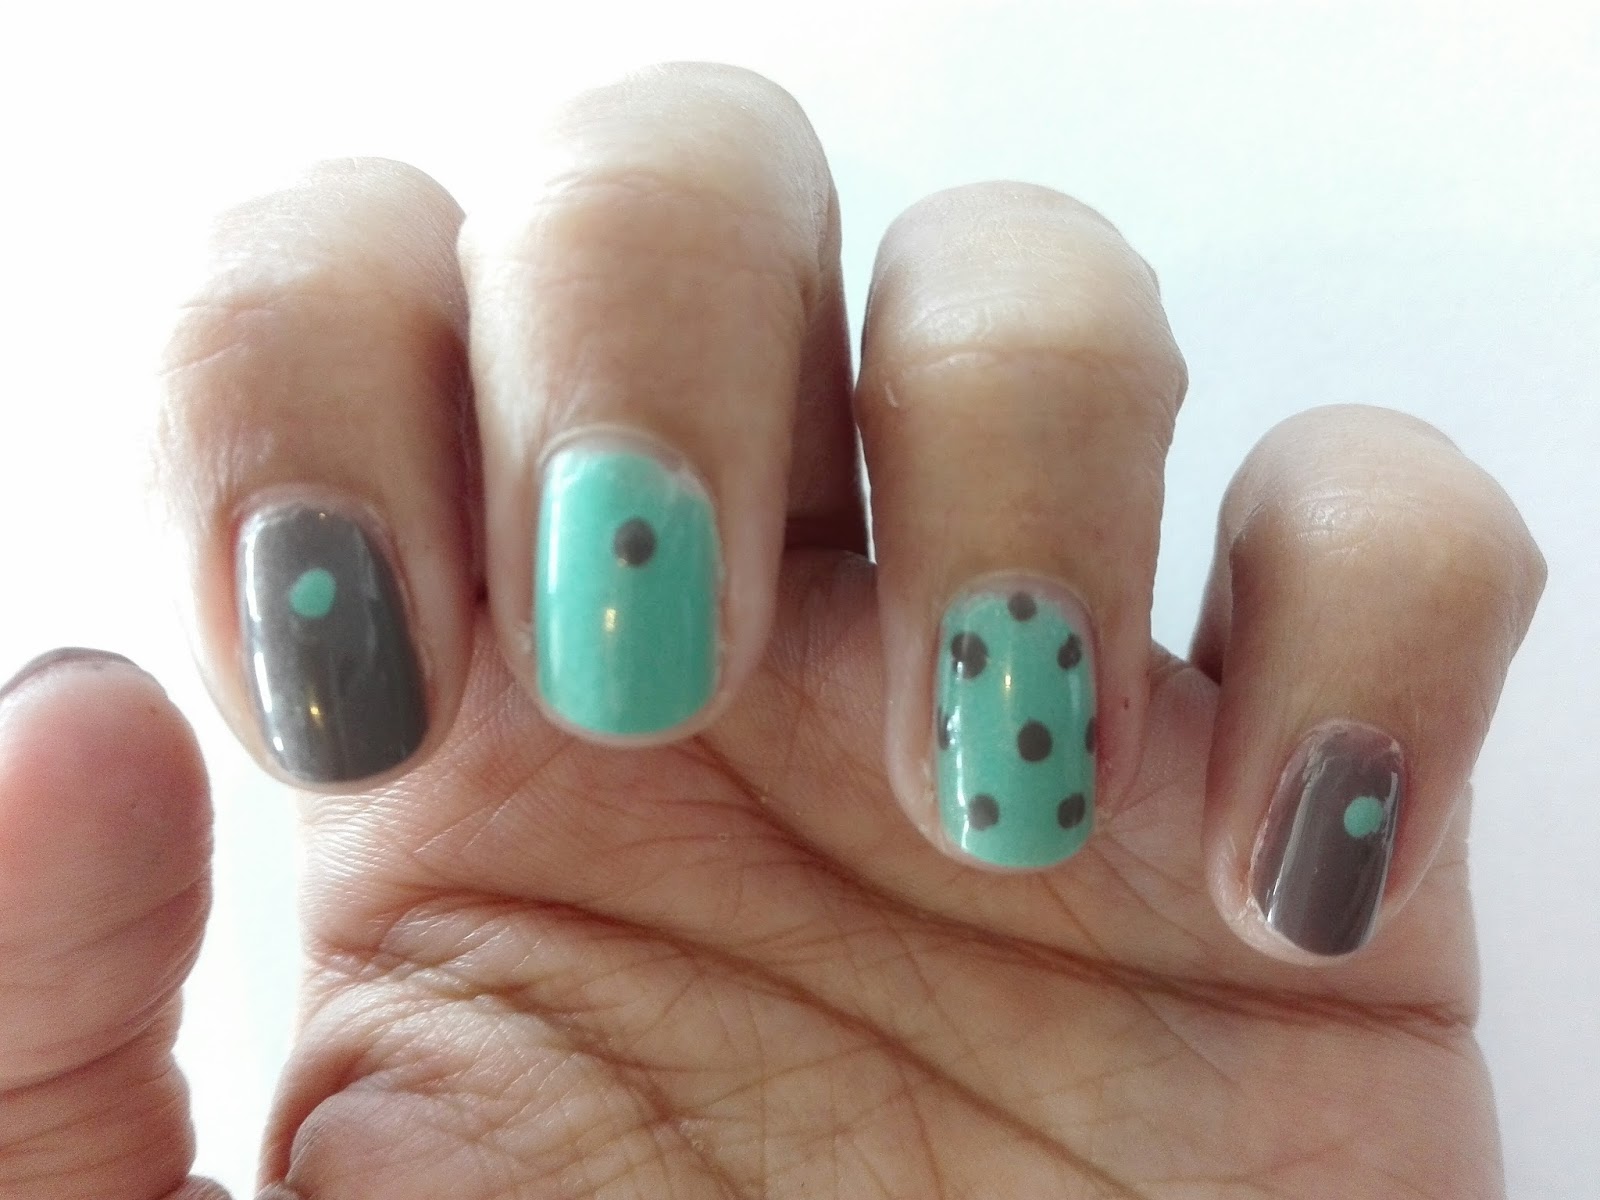
I decided to follow my heart (as one does with this kind of thing 😉 and use my new Sinful Colors polishes (Christmas gift from my sister). One is a lovely dark brown polish called Nirvana and the other a pretty turquoisey green called Mint Apple. I really love this teal polish. It has a bit of a shimmer and it goes on so nicely!
Here’s a pic of the colors in a more natural light:
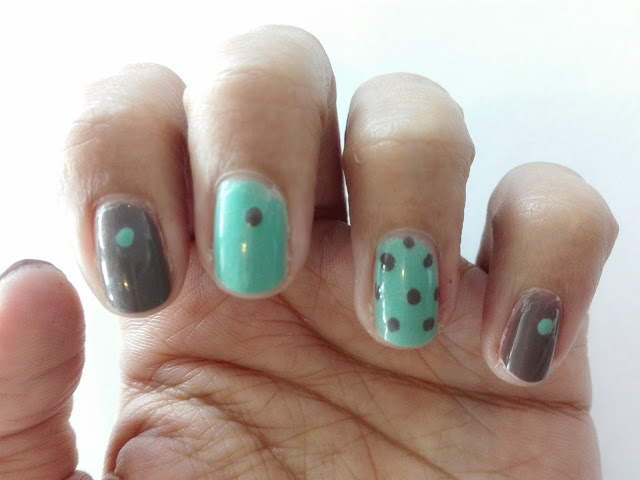
I painted the brown on my pinky, thumb, pointy and the teal on my ring and middle.
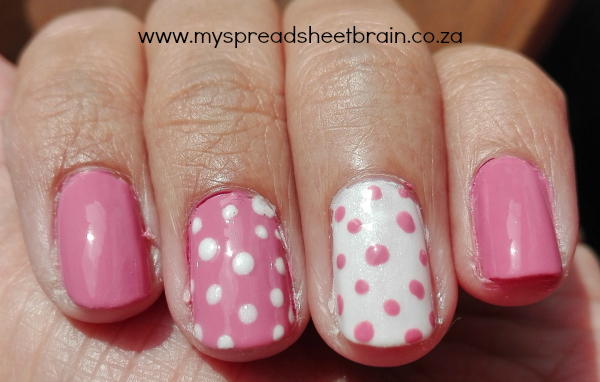
I then used a toothpicks to make the dots. I found that a toothpick works so much better than a nail art tool. What do you think?If you’d like to check out the previous prompts, follow my links:
Pink Christmas
Wrap all the presents
Let it sparkle
Oh Christmas treeHappy New Year to you and yours!
Be safe! -
NAILLINKUP SA – Oh Christmas Tree
This weeks nail link up posts are centered around the theme Oh Christmas Tree. For my main color I had to try out this festive red Sinful Colors polish, called Sugar Sugar.
So pretty! So Christmassy!![IMG_20151222_130353[1]](http://spreadsheetbrain.co.za/wp-content/uploads/2015/12/IMG_20151222_1303531-768x1024.jpg)
I painted all my nails with Sugar Sugar except for my pointy which I painted with my old faithful Essence 157 My Fortune Cookie which is a fabulous gold color. I then used another Essence polish to paint the Christmas tree on my middle finger. Look, it’s not a perfect tree. Its a bit lopsided. But this is real life yo! My tree has fallen like, 3 times already. Haha.
I used my LA Girl nail studs to deck the halls of my ring finger. Tralala lala lala la laaaaa.
![IMG_20151222_130401[1]](http://spreadsheetbrain.co.za/wp-content/uploads/2015/12/IMG_20151222_1304011-768x1024.jpg)
I used a no namey glitter polish for the Christmas tree bedazzlements.
Finished and kla 🙂
Still one more week left for you to join the link up! -
NAILLINKUP SA – Let it sparkle
I’ve been going through a bit of a blogging slump in that I’m tired and lazy and I don’t feel like blogging about it. I think the fact that I am working right through December plays a big role in this current brain malfunction. Fortunately, I still have the drive to do my nails every few days, or else I’d be missing in action, Jackson!
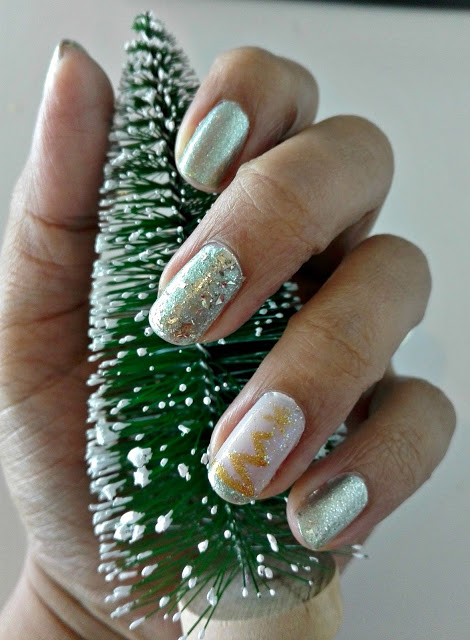
This weeks Nail Link Up prompt is called “Let it sparkle.” (Remember, I chatted about the link up the other day). Can I just throw a quick shout out to whoever decided not to call this one “Let it snow”. I never get how South Africans buy decor and ornaments that suggest snow, when December is in the midst of the heat of Summer, for us. I’d much rather add sparkle, thank you.
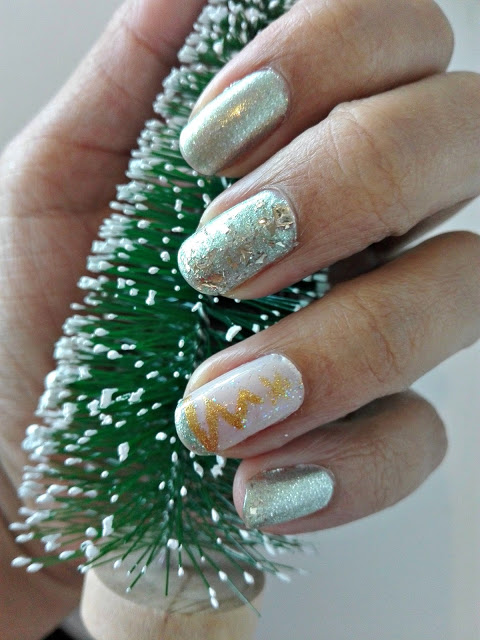
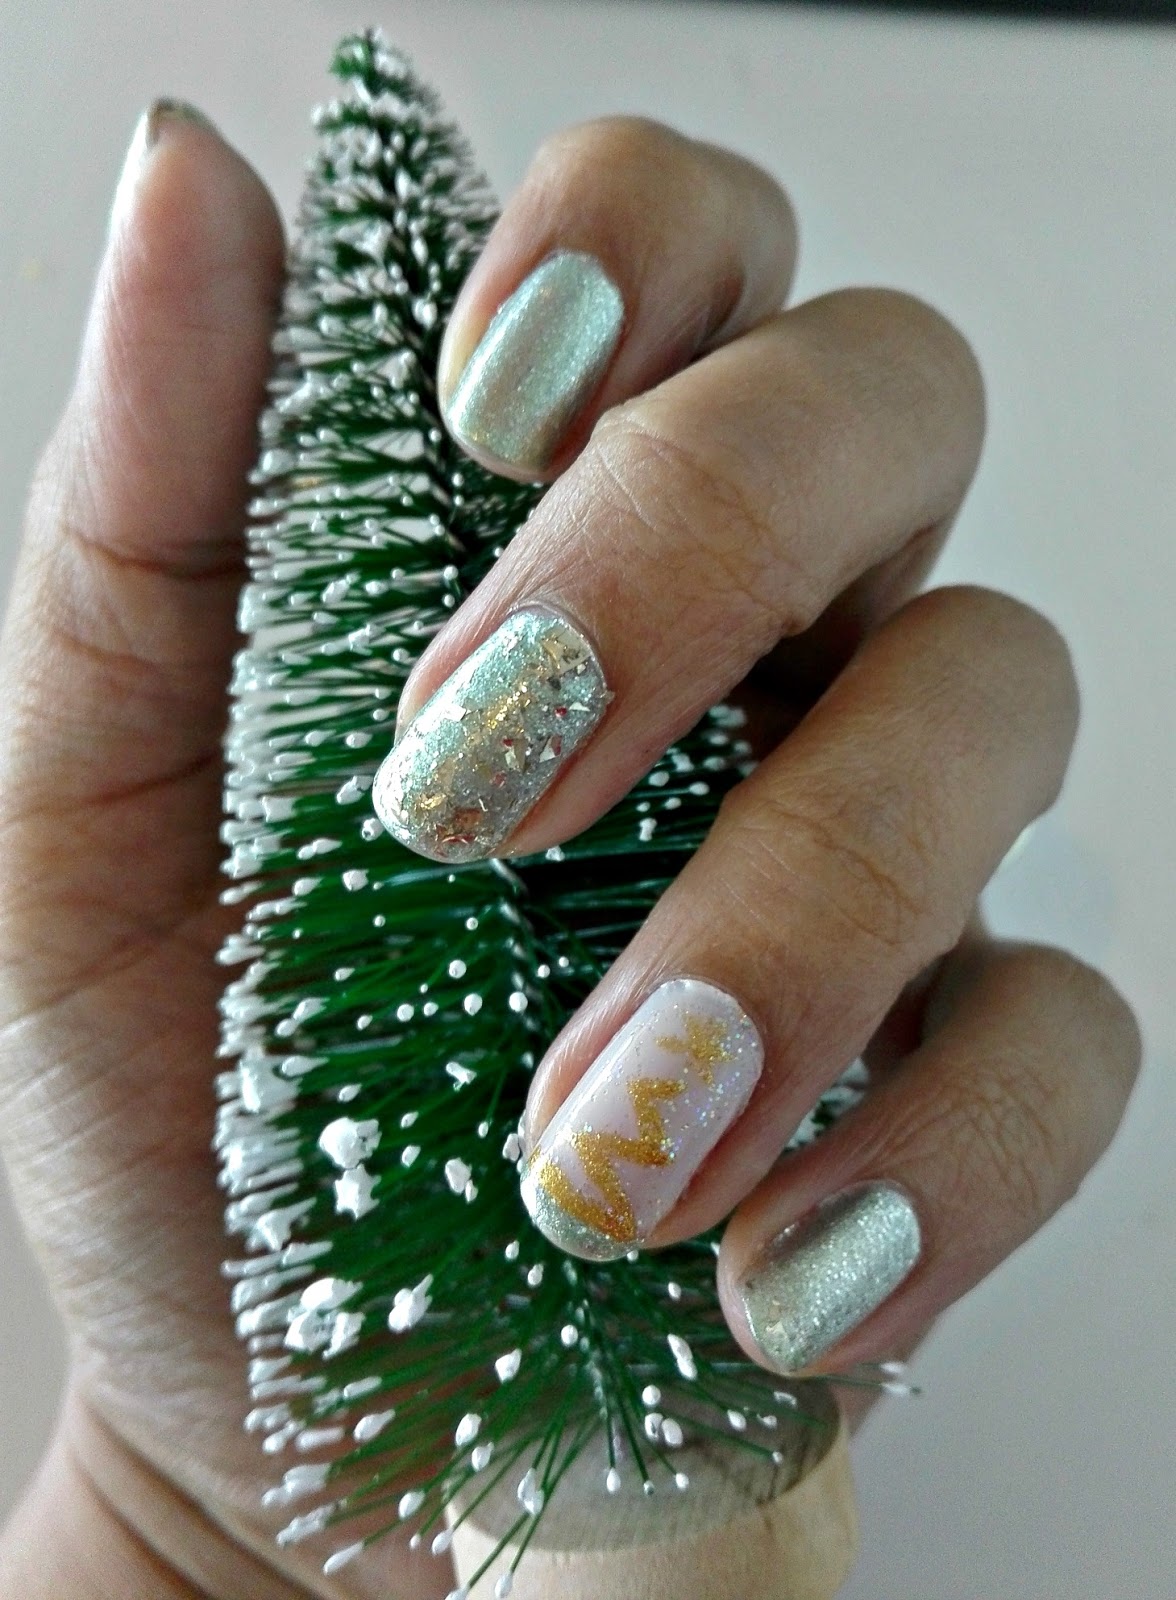
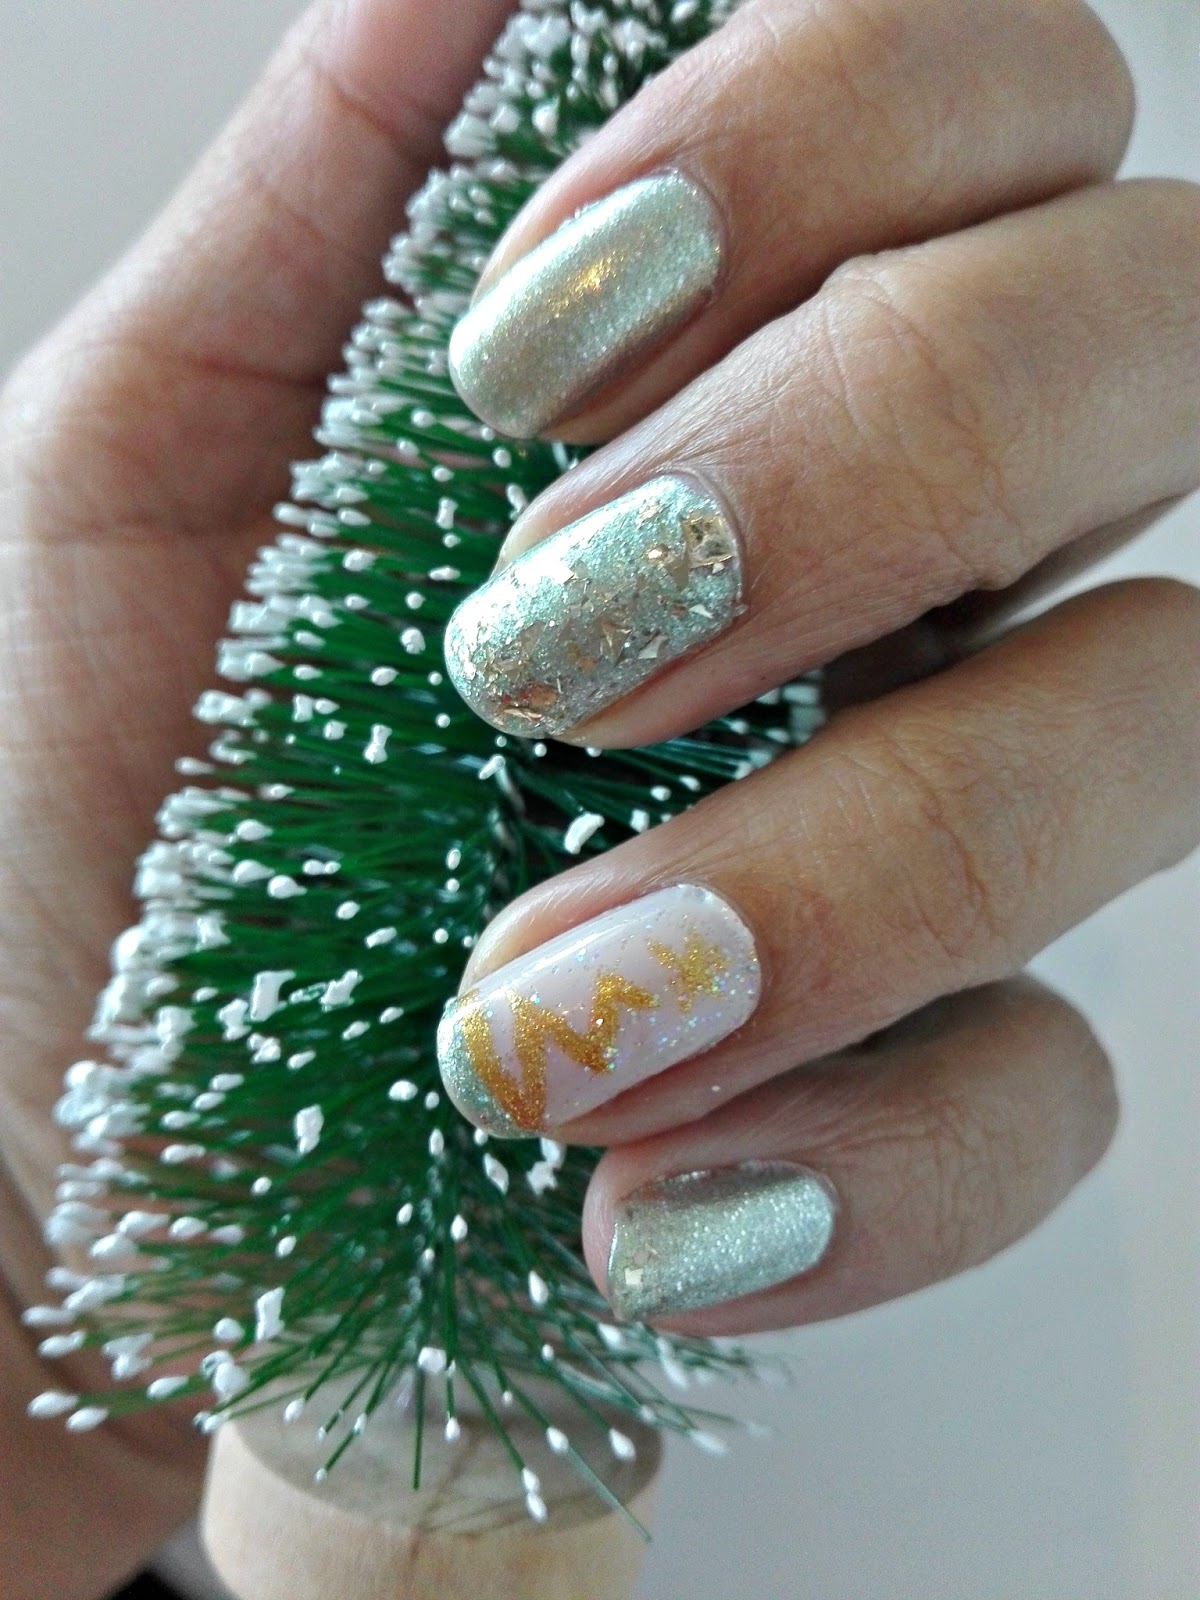
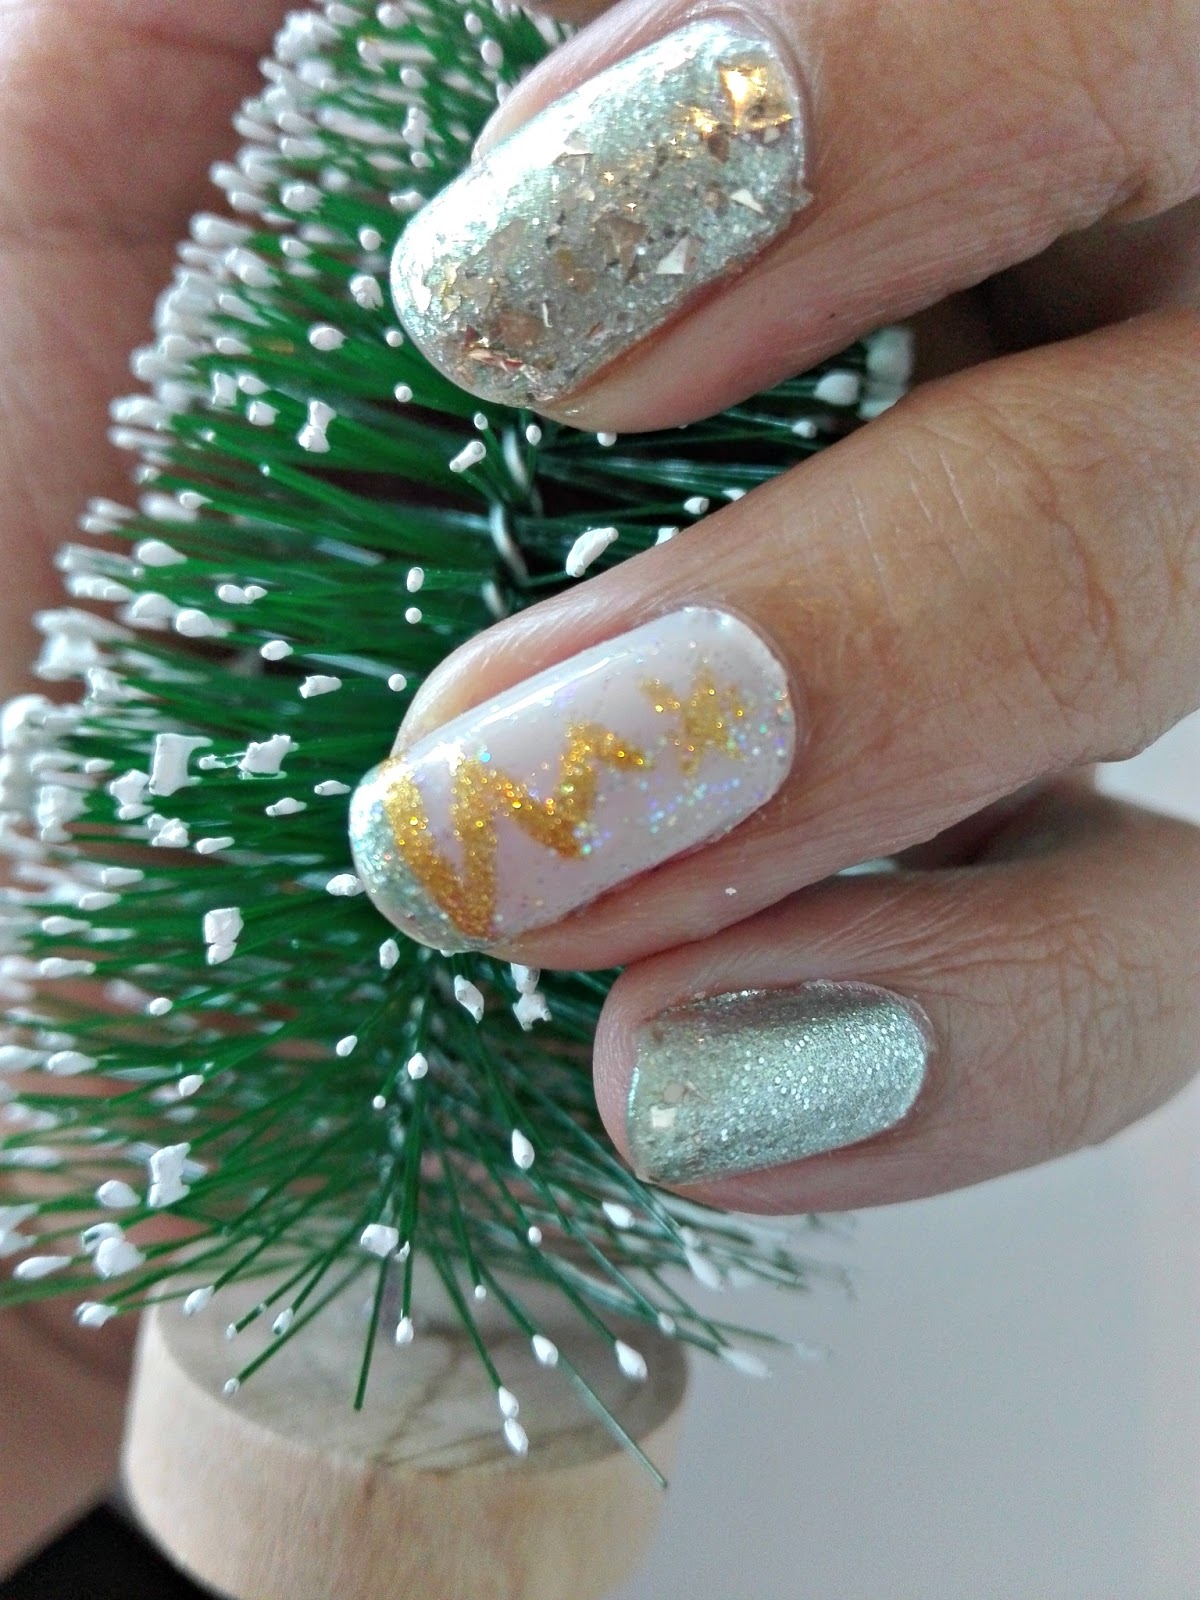
So that’s what I did, with my lovely mint green Essence Colour and Go 190 Kiss me, Freddy (on all my nails except the ring finger). I know that the Color on the Go range is totally outdated, but that just shows how top notch these Essence polishes are. I mean, I got these a long time ago and they still go on like a charm and look amazing.
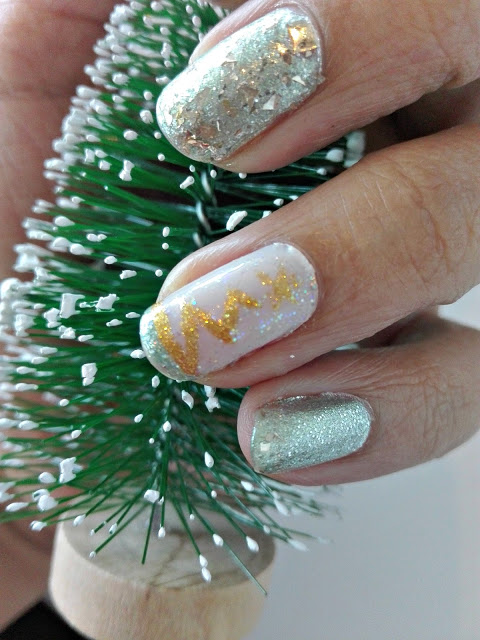
The bedazzlement you see on my middle finger are the gold foils I received in the LA Girl Gold Studs pack that I blogged about before. And as always, I chose my ring finger to be my accent nail, painting it with the Essence Nude Glam 01 Cotton Candy.
The little squiggly Christmas tree was painted in Essence Colour and Go in 157 My Fortune Cookie and it went on fairly easily, with my nail art brush. I topped it off with the Essence Gel Look 06 Space Queen. All in all, twas a joyful experience!
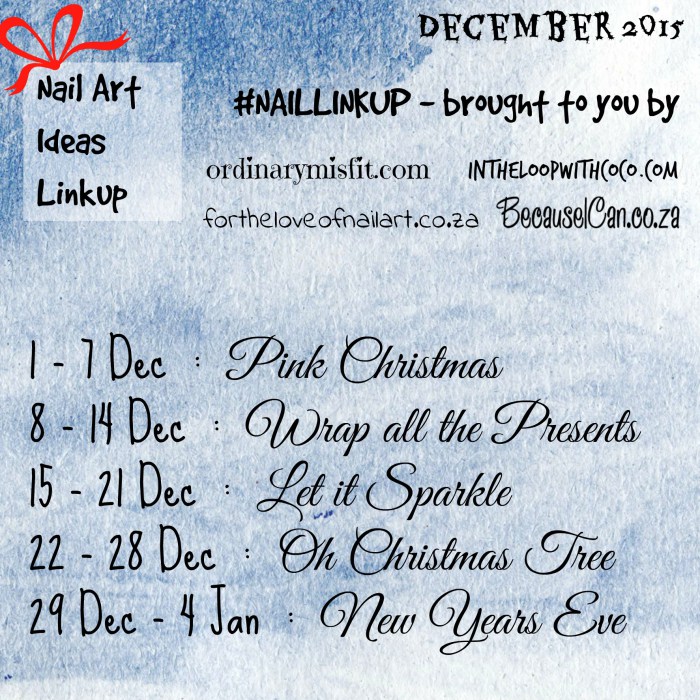
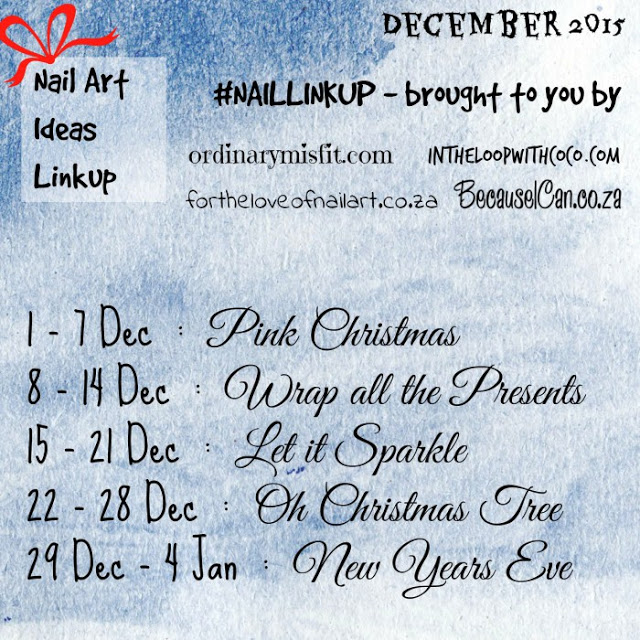
If you’d like in on the challenge, check out the prompts below:
-
NAILLINKUP SA – Wrap all the presents
If you have kids and a husband and you’ve been getting into the Christmas swing of things AND managed to find the time to blog then I salute you. While giving you a side eye. How do you do it?!
My halls have been decked with bows of everything besides holly and I am so looking forward to a couple of days off soon. My boy is currently mid air as I type this – en route to Cape Town to spend Christmas with his dad and their family. My girl is taking a nap. And me? Im just chin-chilling on the couch, no shoes, messy hair coz I dont care (and all the other cool things teenagers say for “I’m doing nothing”).
Anyways, so herewith, please find my entry for the second Nail Link Up prompt, “All the presents”. Now, I know that my entry only reflects one present. But let’s just pretend that ‘all the presents’ are in that one present. Surrrrpriiiiiiiiiiiise!
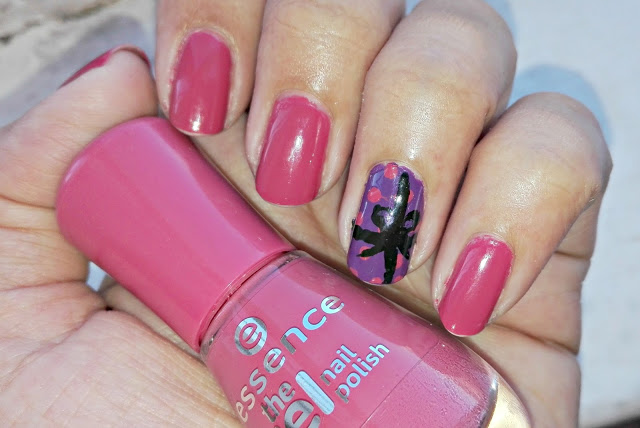
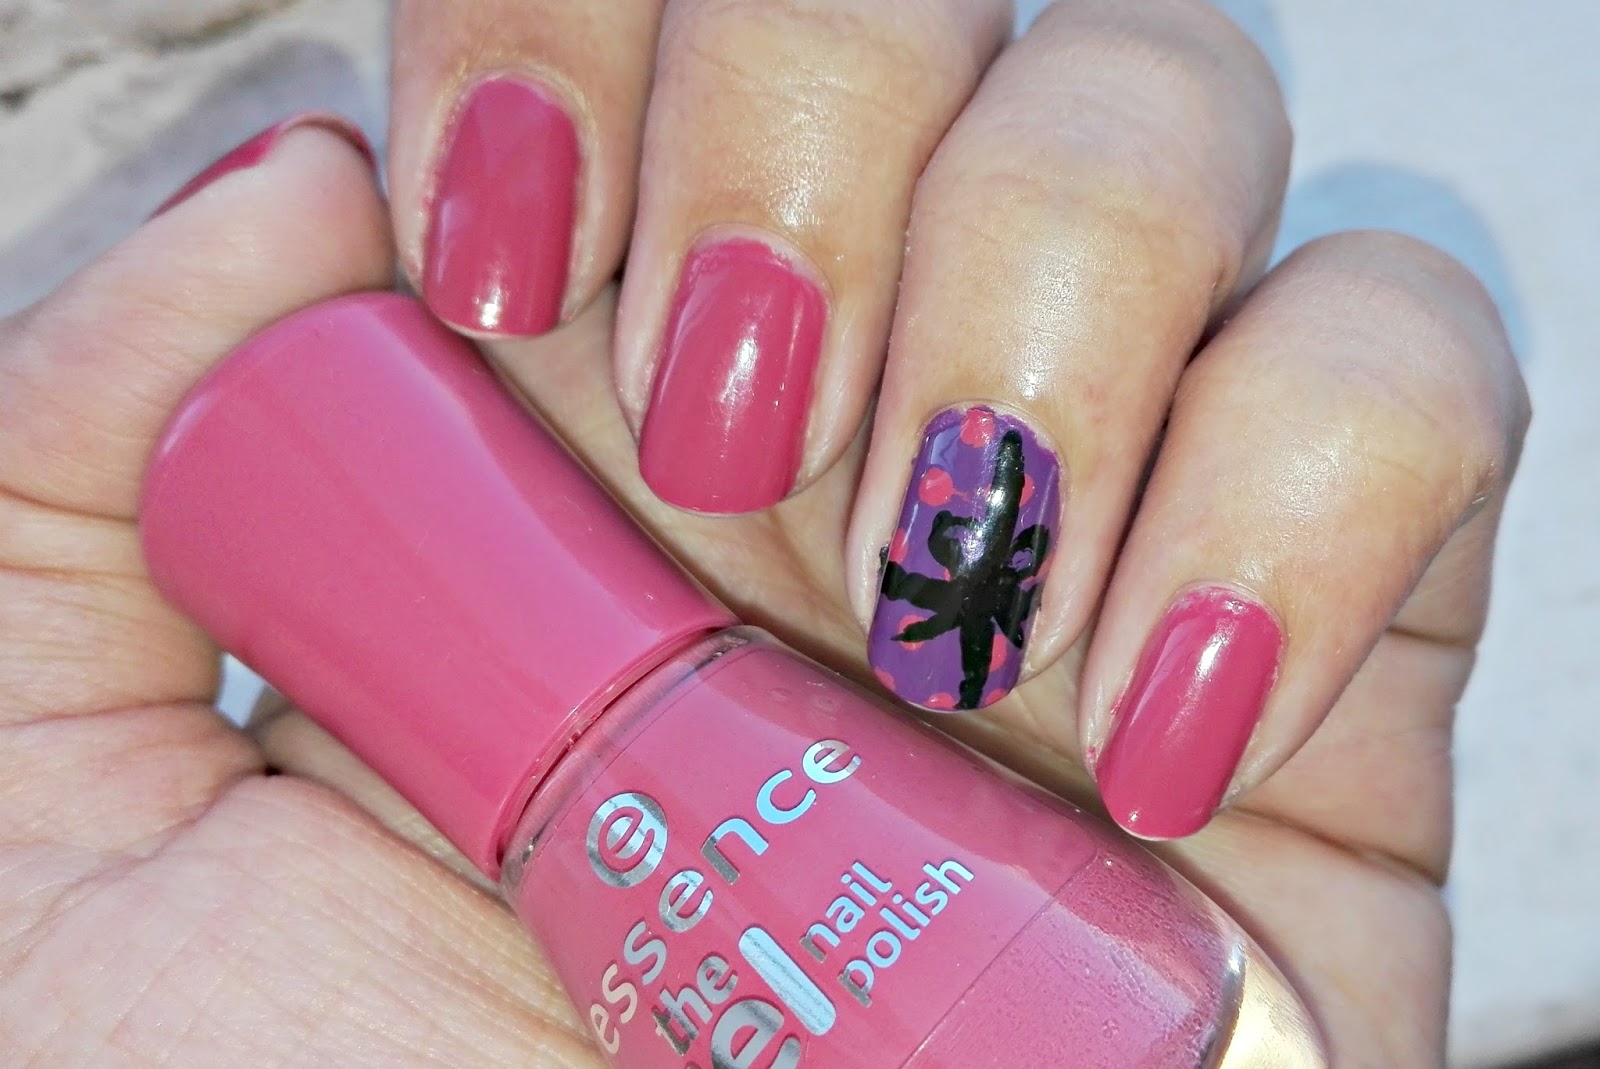
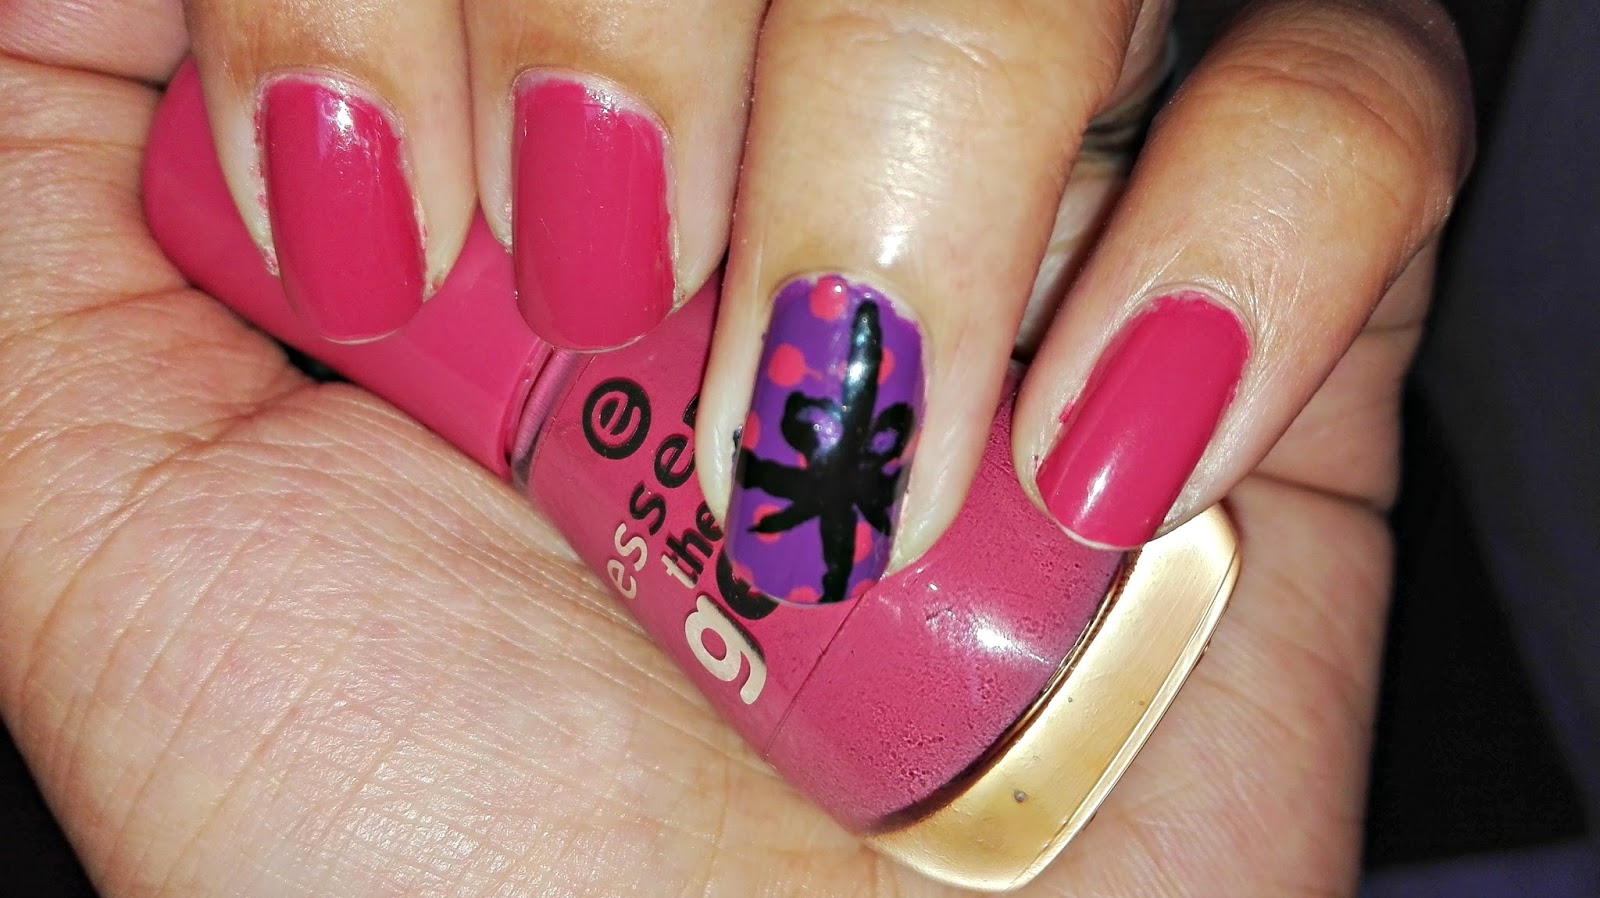
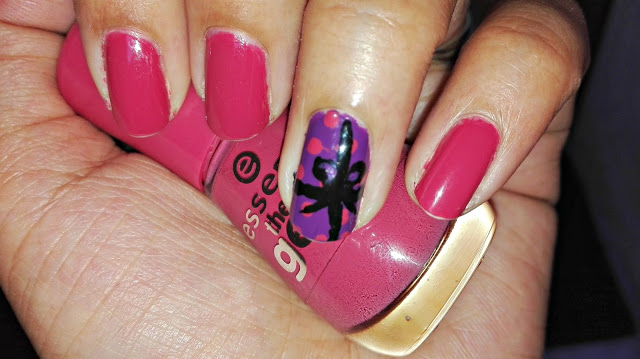
For the challenge I used my newest Essence The Gel polish, the wonderful 48 My Love Diary, which is a beautiful shade of pink.As you may notice, I took way to long to actually snap pics of this mani, hence the tell tale signs of “wear and tear”. Sorry. Do you still love me?
Back to the mani: I did an accent nail using my oldie (but goodie), Woolies Passion Fashion purple, and then I used a dotting tool to make dots on top of that. (Mind you, I think I prefer using a tooth pick over a dotting tool) I then used a nail art brush to paint a bow (of sorts) on top of that. I could’ve been neater. But hey, let’s not be fussy, shall we.
And there you have it!
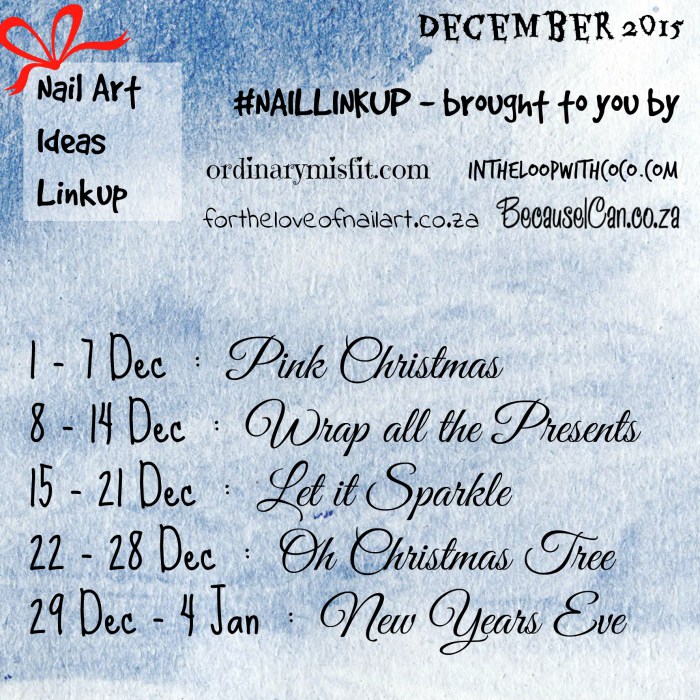
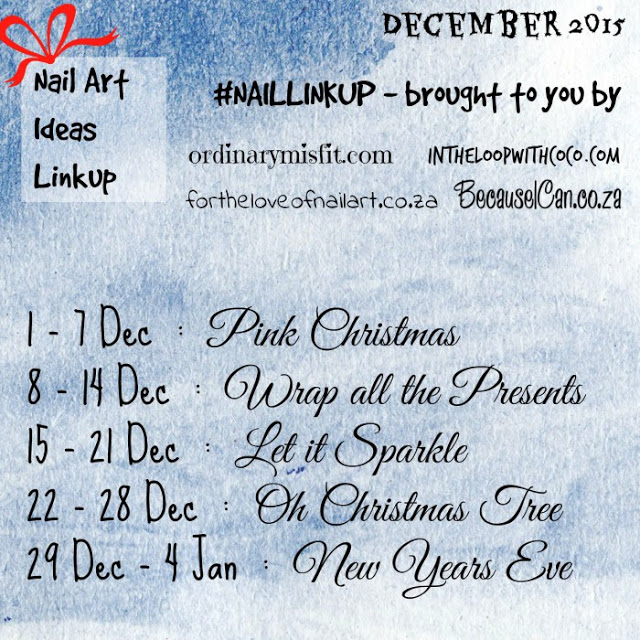
If you’d like to participate in the challenge, check out the prompts below and instructions from my previous post. It’s really cool!






![IMG_20151222_130401[1]](http://spreadsheetbrain.co.za/wp-content/uploads/2015/12/IMG_20151222_1304011.jpg)