-
NAILLINKUPSA – New Years Eve
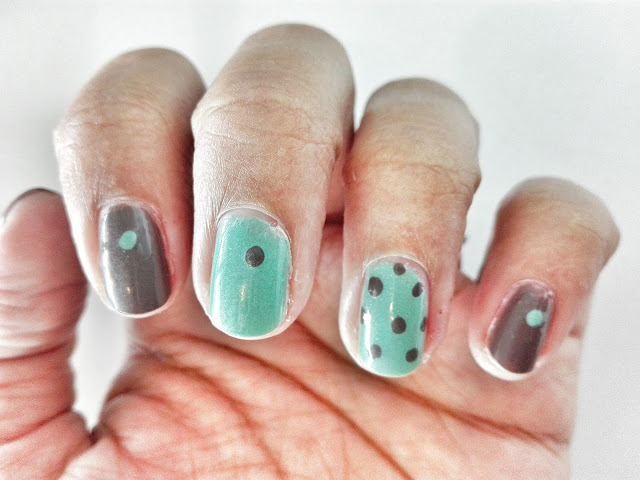
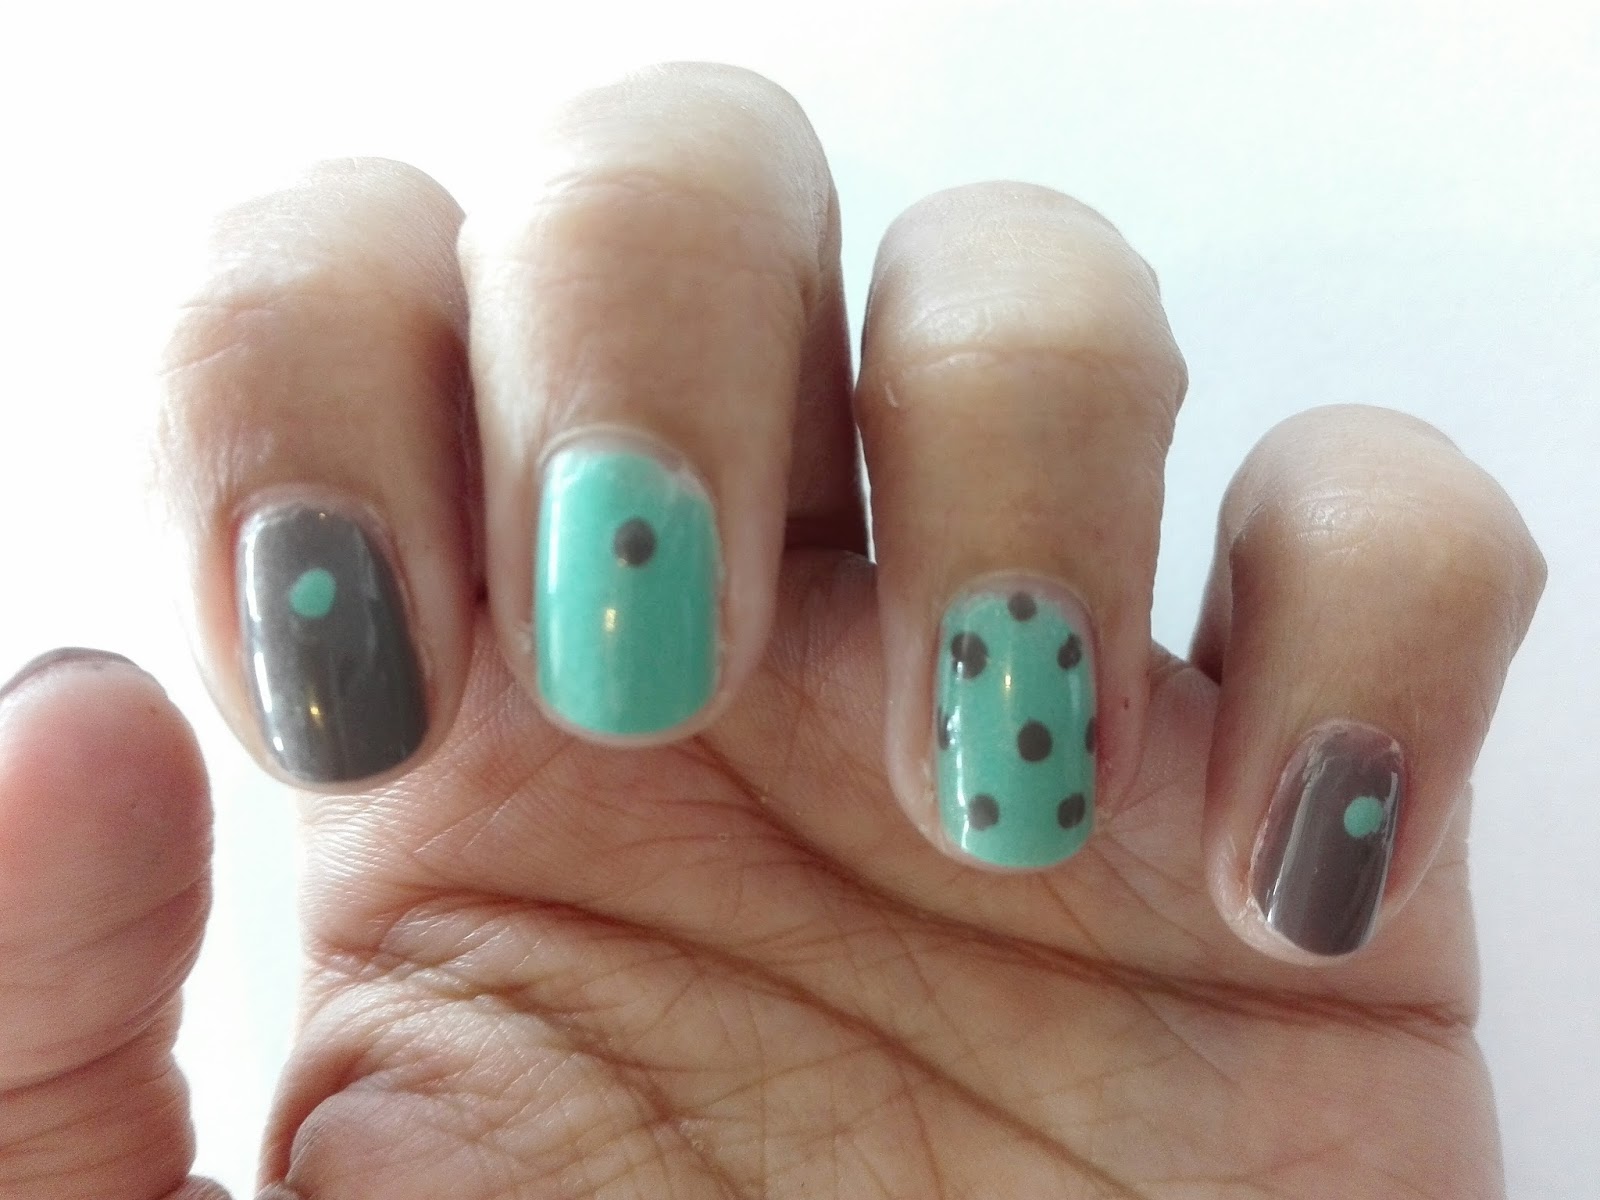
Today’s nails are the final prompt of the Nail Link Up SA challenge. This weeks theme is aptly named New Years Eve and I was going to go with glitterati galore but I thought “nah”. Literally. That’s all I thought. No clever explanation.
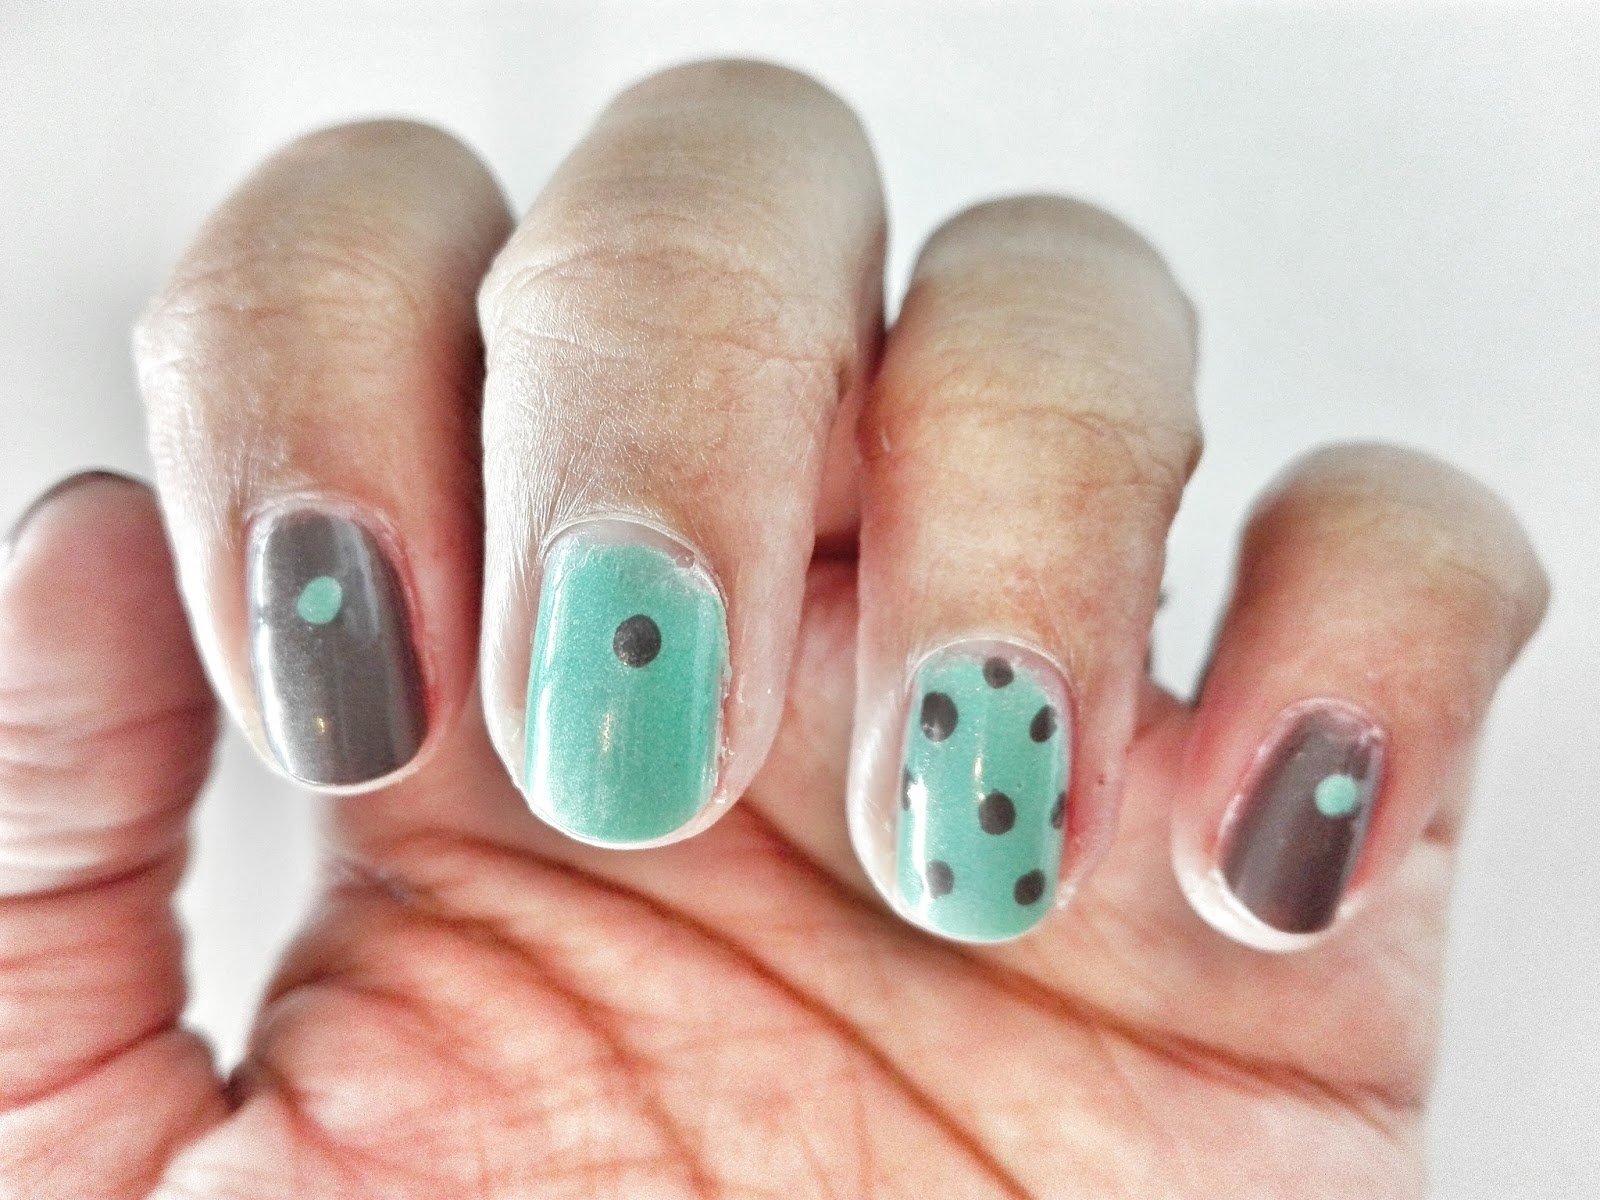
I decided to follow my heart (as one does with this kind of thing 😉 and use my new Sinful Colors polishes (Christmas gift from my sister). One is a lovely dark brown polish called Nirvana and the other a pretty turquoisey green called Mint Apple. I really love this teal polish. It has a bit of a shimmer and it goes on so nicely!
Here’s a pic of the colors in a more natural light:
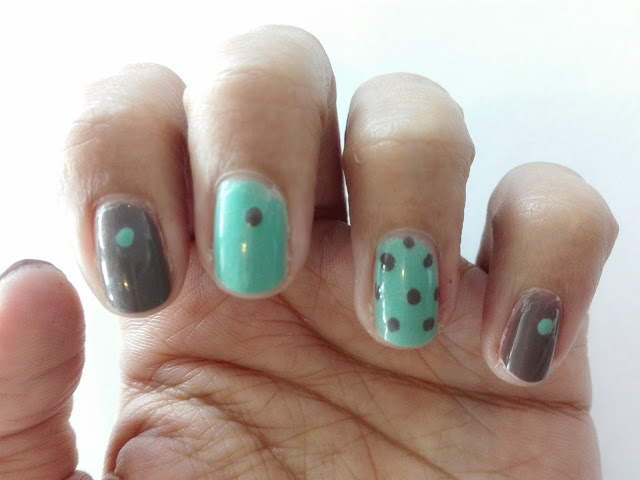
I painted the brown on my pinky, thumb, pointy and the teal on my ring and middle.
I then used a toothpicks to make the dots. I found that a toothpick works so much better than a nail art tool. What do you think?If you’d like to check out the previous prompts, follow my links:
Pink Christmas
Wrap all the presents
Let it sparkle
Oh Christmas treeHappy New Year to you and yours!
Be safe! -
How to make your own nail art stickers! [The DIY Tut that almost never was]

Going through my old Blackberry photo folder (ag shame) I found a bunch of pics that I took while attempting to make a nail art sticker using a baggy and nail polish. I remember not using the pics (or ever posting the tut) because, let’s face it, my Blackberry pics are terrible. But a bunch of people have been asking me about nail art stickers, so I thought: Oh what the hey! Let’s post the terrible pics today! Tra lala lalaaaaaaa.
It’s pretty easy to make these stickers and I’m sure you’ve noticed by now that I am no artist, but if you are, then you are going to have a ball with this! I have met a ton of really talented nail artists and I am sure that they are super duper pro’s at this kind of thing. But you and me… not so much pros. So this is what could work for us, normal civillians.

I start by making sure my plastic bag is clean. I use a Glad bag because the plastic is thicker and if I wanted to trace my image from normal paper, I could just slip the paper into the bag and seal it. Clever! I know, right! (and so modest too).
I then thickly apply my base color of choice. Most people prefer using a clear polish for this, but I prefer matching it with the base color on my nail. I’ll explain why later, but basically this polish will be the “canvas” for your drawing or image. I always apply one coat, allow it to dry, and then another on top of that – it should be nice and thick so that the image will be able to peel off easily.
Once that’s dry I use my nail art brushes and other polishes to paint my image onto the base. I sometimes use koki pens, just because it’s easy and I aint no Picasso. I am sure that there are a ton of things that you could do!
While waiting for the artwork to dry I apply a protective base coat on my nails and then my base color of choice. (You can check out the polishes I used in these pics and why I did this particular mani in this post). I then use a tweezer (or my nails, if they are nice and long) to carefully peel the entire sticker from the baggy. At this point you could either use a nail art scissors to cut your image out (which is why using a clear polish would work for you) before applying or, if you’re lazy like I am, apply the entire sticker to your nail. I apply it slowly and neatly to my finger of choice and use my finger to smooth it out over my nail. The edges peel off quite easily once the entire sticker is on your nail.
Top coat.
And that’s that!
Really easy!
If my blurry pics hurt your eyes too much, please check out Youtube for some more step by step tuts!Happy Nail Arting!
-
NAILLINKUP SA – Oh Christmas Tree
This weeks nail link up posts are centered around the theme Oh Christmas Tree. For my main color I had to try out this festive red Sinful Colors polish, called Sugar Sugar.
So pretty! So Christmassy!![IMG_20151222_130353[1]](http://spreadsheetbrain.co.za/wp-content/uploads/2015/12/IMG_20151222_1303531-768x1024.jpg)
I painted all my nails with Sugar Sugar except for my pointy which I painted with my old faithful Essence 157 My Fortune Cookie which is a fabulous gold color. I then used another Essence polish to paint the Christmas tree on my middle finger. Look, it’s not a perfect tree. Its a bit lopsided. But this is real life yo! My tree has fallen like, 3 times already. Haha.
I used my LA Girl nail studs to deck the halls of my ring finger. Tralala lala lala la laaaaa.
![IMG_20151222_130401[1]](http://spreadsheetbrain.co.za/wp-content/uploads/2015/12/IMG_20151222_1304011-768x1024.jpg)
I used a no namey glitter polish for the Christmas tree bedazzlements.
Finished and kla 🙂
Still one more week left for you to join the link up!




![IMG_20151222_130401[1]](http://spreadsheetbrain.co.za/wp-content/uploads/2015/12/IMG_20151222_1304011.jpg)